When designing for web in Photoshop, I often need a grid to help me with my layout. Guides are a great tool to use, but placement of the guides is the tricky part. How do I know the space is mathematically correct?
Here’s a quick way to add grids to your design without the need for measuring.
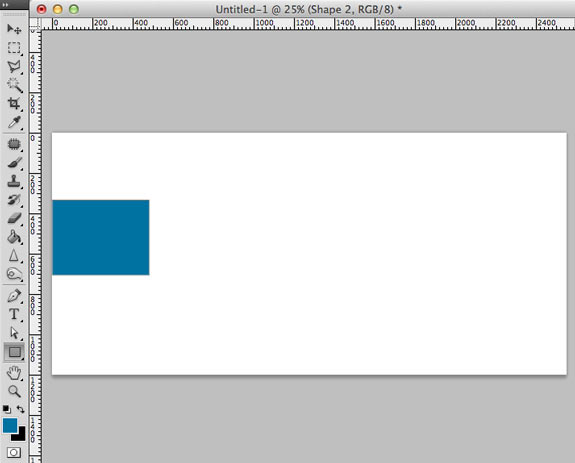
Step 1
Start by drawing a rectangle using the shape tool. It doesn’t matter how big it is.
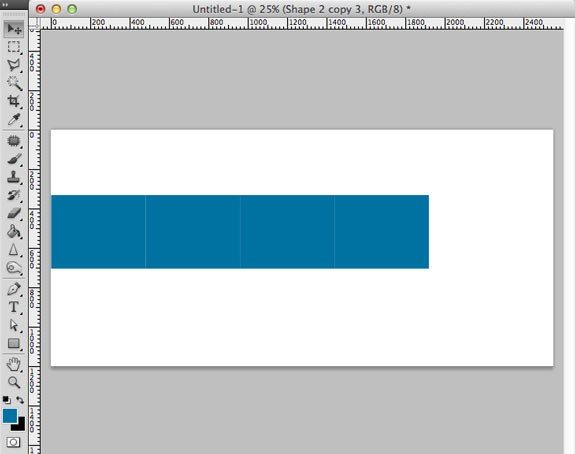
Step 2
Next, duplicate the shape. (Option/alt click it and drag to the right to copy).
Create as many shapes as columns you desire in your grid.
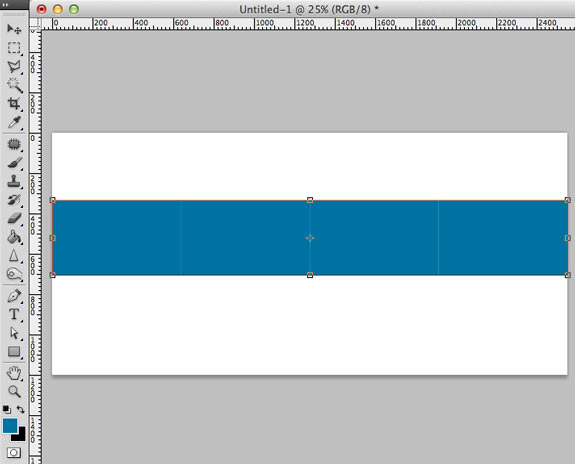
Step 3
Select all shapes and click Edit > Transform (Command/ctrl + T).
Stretch them to the width of the area you want broken into columns. In my case, I’m using the whole page.
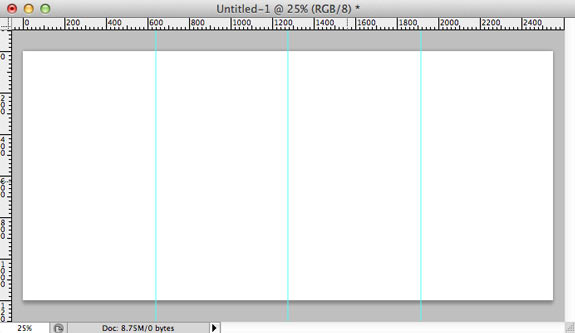
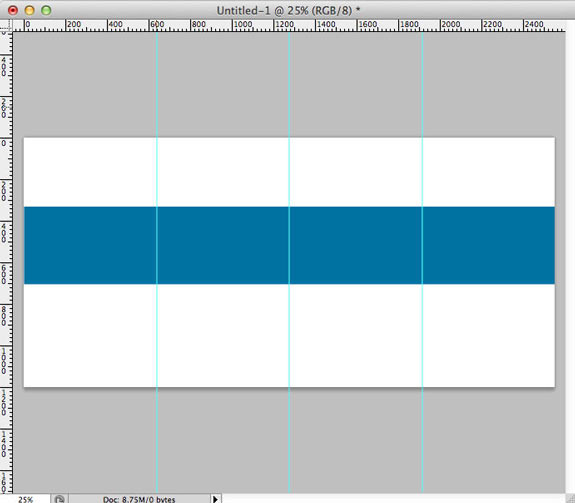
Step 4
Now simply add vertical guides to the right of each rectangle.
Tip: Photoshop will snap the guide to the edge of your rectangle for you, which saves a lot of time.
Step 5
Finally, delete the rectangles and you’ve created a perfect grid without having to measure anything!